
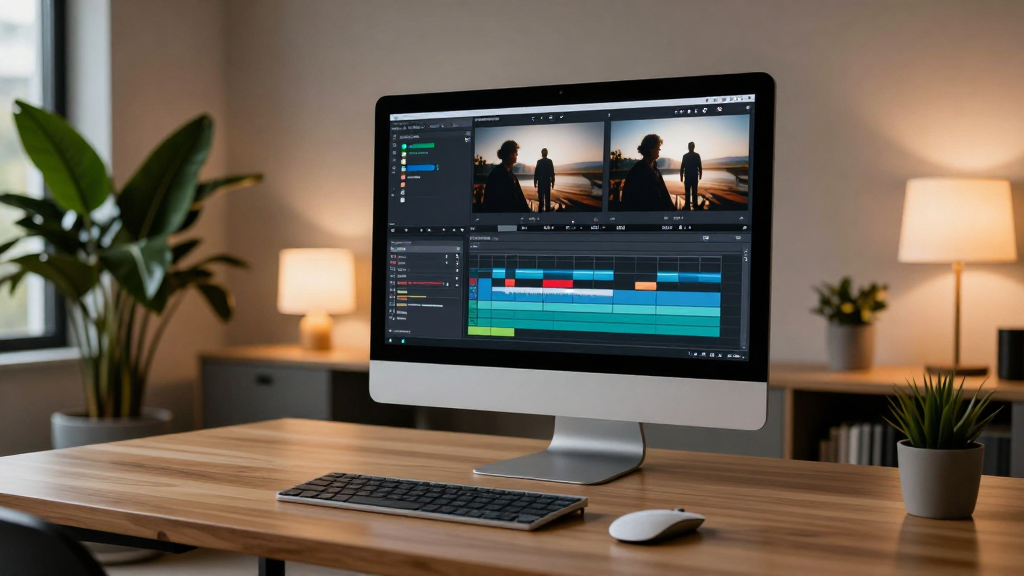
Video Editing for Beginners: A Step-by-Step Guide to Mastering the Basics
In today’s digital landscape, video content is king. Whether you want to launch a YouTube channel, create engaging TikToks, produce corporate presentations, or share family memories, video editing is the bridge between raw footage and a compelling story.
However, for many beginners, the sheer amount of software, terminology, and techniques can feel overwhelming. This guide is designed to simplify the process, providing you with a clear roadmap to mastering the basics of video editing.
Choosing the Right Video Editing Software
Before you can cut your first clip, you need the right tools. The ‘best’ software depends entirely on your goals, your hardware, and your budget.
1. For Social Media & Quick Edits (Mobile/Desktop)
If you are looking to create fast-paced content for Instagram Reels or TikTok, you don’t need complex professional software.
- CapCut: Extremely popular, user-friendly, and packed with trending effects.
- InShot: A staple for mobile-first creators who need quick, polished edits.
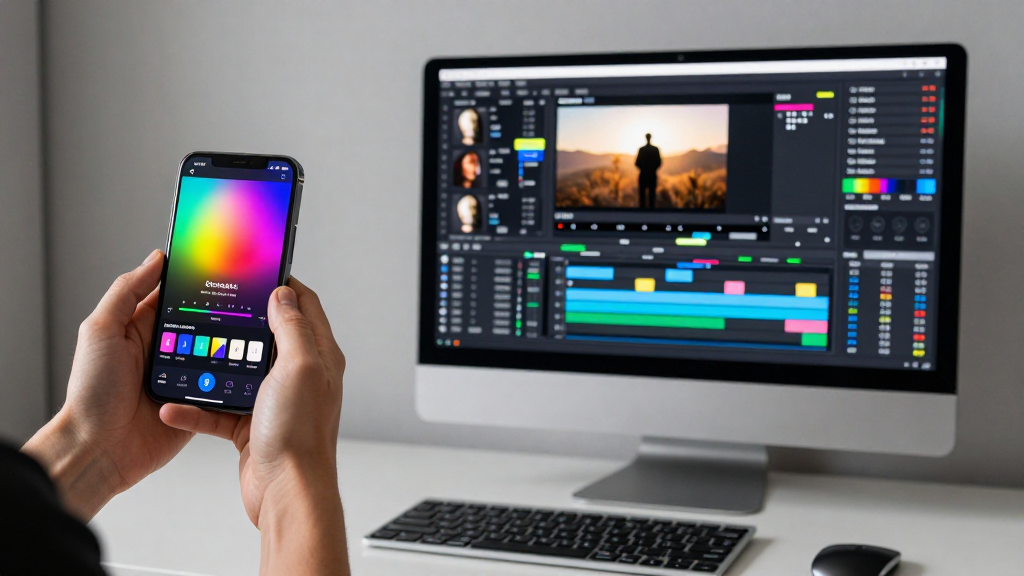
2. For Intermediate Creators (The Middle Ground)
If you want more control over your timeline without the steep learning curve of Hollywood tools:
- Filmora: Offers a great balance of ease of use and powerful features like keyframing and motion tracking.
- Shotcut: A free, open-source editor that is surprisingly capable for those who want to avoid subscriptions.\n
3. For Professional Results (Industry Standards)
If your goal is high-end production, color grading, or complex visual effects:
- Adobe Premiere Pro: The industry standard for many creators, offering seamless integration with other Adobe products.
- DaVinci Resolve: Renowned for its world-class color correction tools. It also offers a very powerful free version, making it a favorite for independent filmmakers.
The Standard Video Editing Workflow
Professional editors follow a consistent workflow to stay organized. Following these steps will prevent you from getting lost in your project.
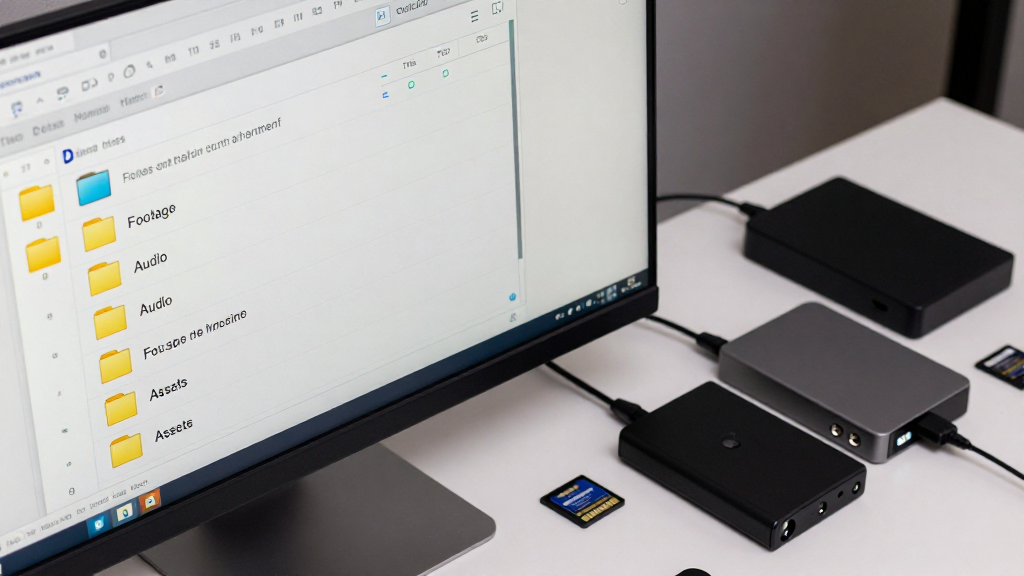
Step 1: Organization and Logging
Never start editing by just throwing files into a timeline. Create a folder for your project containing sub-folders for:
- Footage (Raw clips)
- Audio (Music, voiceovers, sound effects)
- Assets (Logos, overlays, images)
Step 2: The Rough Cut
During the rough cut phase, your goal is to assemble the story. Don’t worry about perfect transitions or fancy effects yet. Just lay down your primary footage in the correct order to see if the narrative flows logically.
Step 3: The Fine Cut
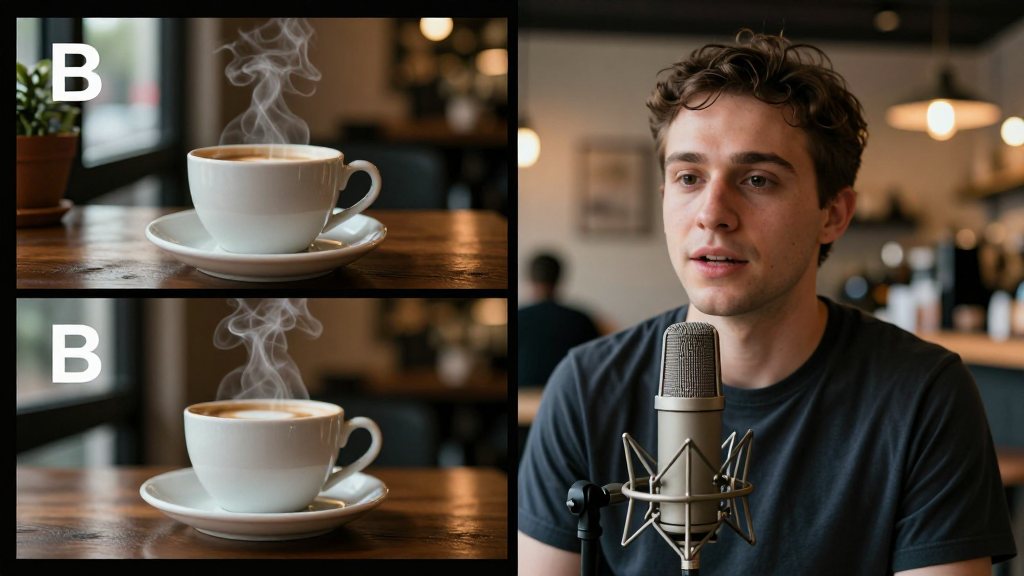
Once the story is solid, refine the timing. Trim out the ‘uhms,’ long pauses, and any unnecessary frames. This is where you start adding B-roll (supplementary footage) to cover up jump cuts or to emphasize a point.
Step 4: Audio and Color
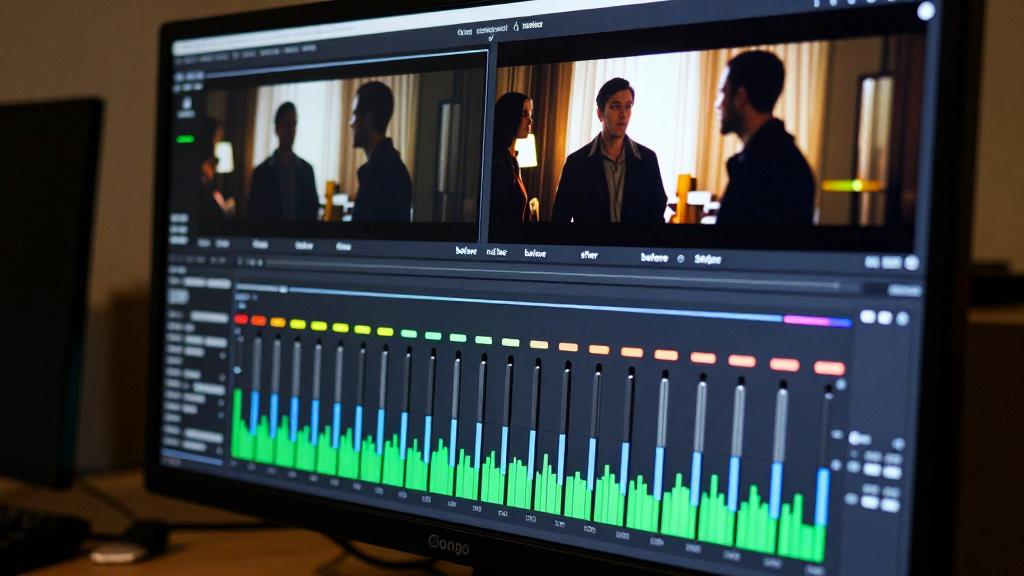
Now that the visuals are set, focus on the ‘polish.’ Balance your audio levels so the music doesn’t drown out the speaking. Apply basic color correction to ensure your clips look consistent in tone and brightness.
Step 5: Exporting
Finally, export your video in the correct format. For most web platforms, H.264 (MP4) is the standard. Ensure your resolution matches your intended platform (e.g., 1080p for YouTube, 9:16 aspect ratio for TikTok).
Essential Techniques Every Beginner Should Know
To make your videos look professional, you need to move beyond simple ‘point and click’ editing. Master these three core concepts:
1. The J-Cut and L-Cut
These are the bread and butter of seamless storytelling.
- J-Cut: When the audio from the next scene starts before the video changes.
- L-Cut: When the video changes, but the audio from the previous scene continues.
Using these makes transitions feel natural rather than jarring.
2. Pacing and Rhythm
Editing is all about timing. Fast cuts create energy and urgency; long, lingering shots create mood and tension. Try to edit to the beat of your background music to create a sense of harmony.\n
3. Using B-Roll Effectively
B-roll is any footage that is not the main subject (e.g., showing a coffee cup while someone talks about a morning routine). Use B-roll to:
- Hide jump cuts in your ‘A-roll’ (talking head) footage.
- Provide visual variety to keep the viewer engaged.
- Illustrate complex points that are hard to explain with words alone.
Conclusion
Video editing is a craft that combines technical skill with creative intuition. While the software can be intimidating at first, the fundamentals—organization, pacing, and storytelling—remain the same regardless of the tool you use.
Start small. Pick one project, choose a software that feels comfortable, and focus on telling a clear story. With practice, those complex transitions and professional-looking color grades will become second nature. Happy editing!